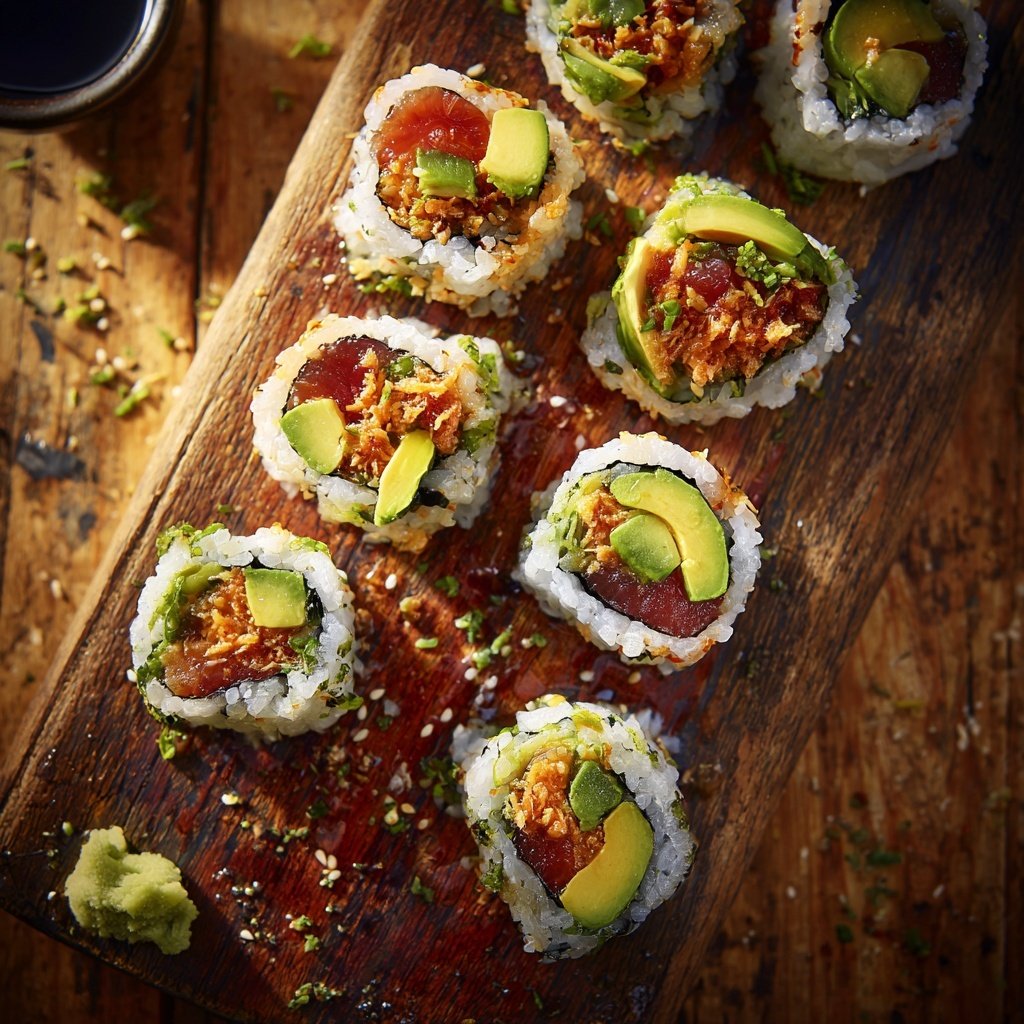
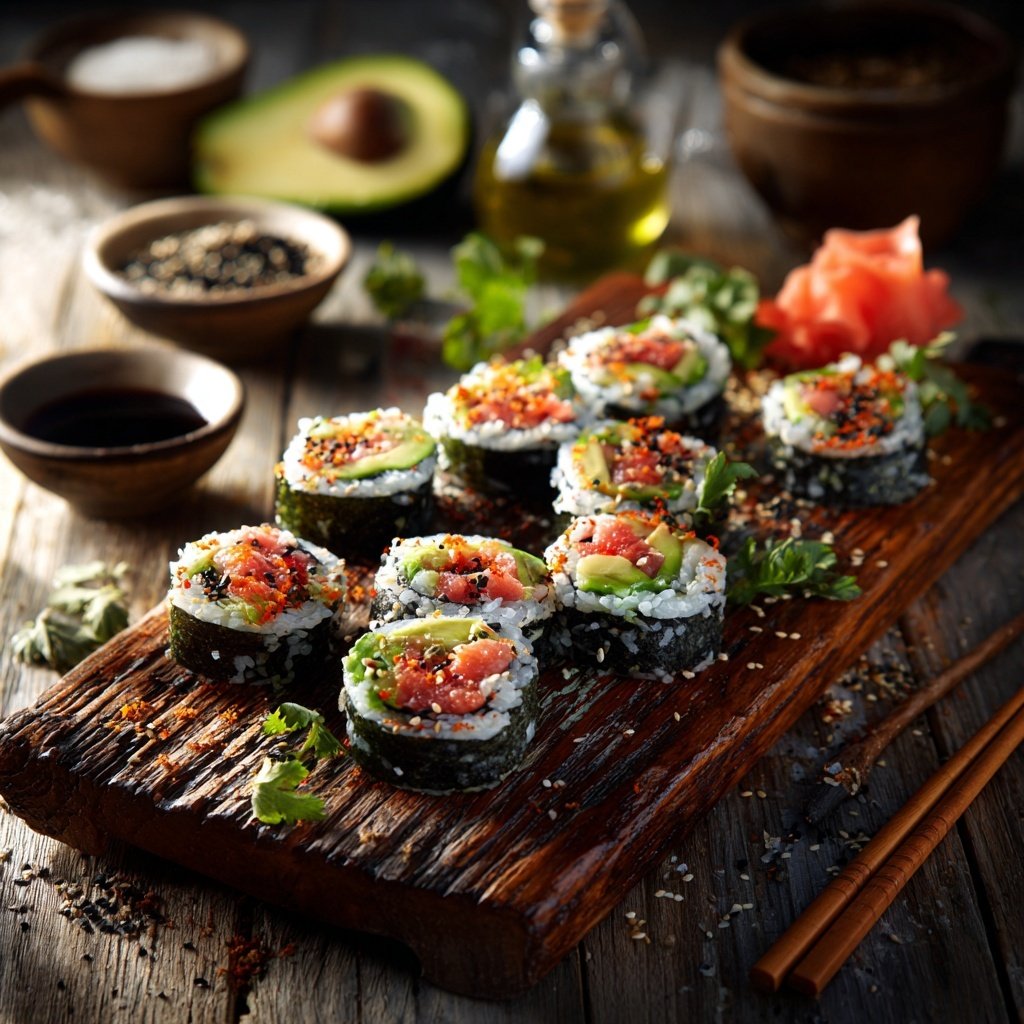
Global Japanese Sushi Rolls
Highlighted under: International Cooking | World Taste
I absolutely love making sushi at home, and these Global Japanese Sushi Rolls have become a family favorite. It’s a fun way to bring everyone together in the kitchen. Rolling sushi may seem intimidating, but with a little practice, it gets easier and even more enjoyable. The beauty of these rolls is that you can customize them with your favorite ingredients, making each one unique. Let’s dive into making fresh, delightful sushi that will impress anyone who takes a bite!
When I first ventured into making sushi, I found it incredibly satisfying to create something so beautiful and delicious. I remember the excitement of sharing my rolls with friends and family, showcasing not just my culinary skills, but also the vibrant components of homemade sushi. One trick I learned was to keep the rice warm while rolling to make it easier to handle.
Experimenting with different fillings has been a game changer for me. Whether it’s fresh vegetables, seafood, or unique sauces, I often mix and match flavors, resulting in sushi that surprises and delights. Additionally, using a bamboo mat for rolling has made a world of difference, ensuring tight, perfectly shaped rolls every time!
Why You'll Love These Rolls
- Fresh, customizable flavors that suit everyone's taste
- A fun activity to engage family and friends
- Deliciously creative presentations for special occasions
Understanding Sushi Rice
The key to great sushi rolls starts with the perfect sushi rice. It’s important to use short-grain rice, as its high starch content gives the rice its characteristic sticky texture, allowing the rolls to hold together. Properly rinsing the rice until the water runs clear removes excess starch that can cause the rice to turn gummy. Cooking the rice at the right temperature is crucial; it should be not too dry or too wet. Follow the rice cooker guidelines closely to ensure consistent results.
Once your rice is cooked, the seasoning mix of rice vinegar, sugar, and salt is what truly elevates its flavor. Letting this mixture infuse into the warm rice adds a subtle tang, enhancing the overall sushi experience. Aim to cool your sushi rice gently; using a fan can help accelerate this process while keeping the rice fluffy and avoiding clumping. Ideally, the rice should be slightly warm when you assemble it with the other ingredients.
Choosing the Right Fillings
The fillings in your sushi rolls can range from fresh vegetables to proteins, so it's essential to consider textures and flavors. For an optimal crunch, ensure that your cucumber stays crisp and your avocado is ripe but firm to prevent mushiness. If you're looking to make these rolls a bit more adventurous, try adding cooked crab or even tofu as a plant-based substitute. Experimenting with flavored ingredients can turn a classic roll into something uniquely yours.
Keep in mind that the layering of fillings can affect the roll's structural integrity. Place denser items like shrimp at the bottom, followed by softer ones such as avocado and cucumber. This technique balances the roll, ensuring you won't have a soggy or squished end result. If you find your rolls are often falling apart, consider using less filling or tightly packing the sushi rice together before adding the rest of your ingredients.
Ingredients
Sushi Rice and Nori
- 2 cups sushi rice
- 2 1/2 cups water
- 1/3 cup rice vinegar
- 3 tablespoons sugar
- 1 tablespoon salt
- 4 sheets of nori (seaweed)
Fillings
- 1 avocado, sliced
- 1 cucumber, julienned
- 1 carrot, grated
- 4 ounces cooked shrimp, sliced
- 2 tablespoons sesame seeds
- Soy sauce for dipping
Instructions
Prepare the Sushi Rice
Rinse the sushi rice under cold water until the water runs clear. Combine the rice and water in a rice cooker and cook according to the manufacturer's instructions. Once cooked, transfer to a bowl, mix in the rice vinegar, sugar, and salt, and allow it to cool.
Assemble Your Ingredients
Prepare your fillings and have them ready. Slice the avocado, julienne the cucumber and grate the carrot, ensuring they’re easy to access for rolling.
Roll the Sushi
Lay a sheet of nori on a bamboo mat, shiny side down. Wet your hands to prevent sticking, then spread a thin layer of sushi rice over the nori, leaving a 1-inch border at the top. Place your desired fillings in a line across the middle and sprinkle sesame seeds on top.
Form the Rolls
Using the bamboo mat, carefully roll the sushi away from you, applying gentle pressure to form a tight roll. Seal the edge with a little water if necessary. Repeat with the remaining nori and fillings.
Slice and Serve
Use a sharp knife to slice the rolls into bite-sized pieces. Serve with soy sauce for dipping and enjoy your homemade sushi!
Pro Tips
- When rolling sushi, keep your hands wet to prevent the rice from sticking. It’s also a great idea to have a bowl of water nearby to dip your fingers into as needed.
Storage and Make-Ahead Tips
Homemade sushi is best enjoyed fresh, but if you have leftovers, store them in an airtight container in the refrigerator for up to 24 hours. To prevent the rice from drying out, you can cover the rolls with a damp paper towel before sealing. However, be aware that sushi rice loses its texture when refrigerated, so plan to consume it quickly for the best experience.
If you're planning to make sushi for a gathering, you can prepare the sushi rice and fillings in advance. The sushi rice can be made a few hours ahead and allowed to cool at room temperature—just make sure to cover it with a cloth to keep it from drying out. Pre-slicing your vegetables and proteins will streamline assembly when it's time to roll, making it a breezy and enjoyable experience.
Serving Suggestions
When serving your sushi rolls, presentation is key. Consider slicing the rolls into varying sizes for an appealing platter. Pair them with aesthetic sides such as pickled ginger and wasabi, enhancing the overall tasting experience. I like to use small dishes for soy sauce to allow easy dipping without the risk of soggy rolls.
For a creative twist, try serving your sushi on a sushi boat or bamboo platter for an authentic feel. You can also explore additional sauces such as spicy mayo or eel sauce to drizzle over the top for a burst of flavor. Don't forget to garnish with sesame seeds for that added crunch and visual interest—it truly elevates the dish!
Questions About Recipes
→ Can I use other types of fillings?
Absolutely! Feel free to get creative with your fillings. Cooked meats, fresh vegetables, or even fruits can be great alternatives.
→ How do I store leftover sushi?
Sushi is best enjoyed fresh, but if you have leftovers, store them in an airtight container in the refrigerator for up to 24 hours.
→ What if I can’t find sushi rice?
You can substitute with short-grain rice, but the texture might not be the same. Sushi rice is recommended for the best results.
→ Is home-made sushi safe to eat?
Yes! As long as you use fresh ingredients and handle them properly, homemade sushi can be very safe and delicious.
Global Japanese Sushi Rolls
Created by: The Chefgarrettkitchen Team
Recipe Type: International Cooking | World Taste
Skill Level: Intermediate
Final Quantity: 4 rolls
What You'll Need
Sushi Rice and Nori
- 2 cups sushi rice
- 2 1/2 cups water
- 1/3 cup rice vinegar
- 3 tablespoons sugar
- 1 tablespoon salt
- 4 sheets of nori (seaweed)
Fillings
- 1 avocado, sliced
- 1 cucumber, julienned
- 1 carrot, grated
- 4 ounces cooked shrimp, sliced
- 2 tablespoons sesame seeds
- Soy sauce for dipping
How-To Steps
Rinse the sushi rice under cold water until the water runs clear. Combine the rice and water in a rice cooker and cook according to the manufacturer's instructions. Once cooked, transfer to a bowl, mix in the rice vinegar, sugar, and salt, and allow it to cool.
Prepare your fillings and have them ready. Slice the avocado, julienne the cucumber and grate the carrot, ensuring they’re easy to access for rolling.
Lay a sheet of nori on a bamboo mat, shiny side down. Wet your hands to prevent sticking, then spread a thin layer of sushi rice over the nori, leaving a 1-inch border at the top. Place your desired fillings in a line across the middle and sprinkle sesame seeds on top.
Using the bamboo mat, carefully roll the sushi away from you, applying gentle pressure to form a tight roll. Seal the edge with a little water if necessary. Repeat with the remaining nori and fillings.
Use a sharp knife to slice the rolls into bite-sized pieces. Serve with soy sauce for dipping and enjoy your homemade sushi!
Extra Tips
- When rolling sushi, keep your hands wet to prevent the rice from sticking. It’s also a great idea to have a bowl of water nearby to dip your fingers into as needed.
Nutritional Breakdown (Per Serving)
- Calories: 350 kcal
- Total Fat: 8g
- Saturated Fat: 1g
- Cholesterol: 40mg
- Sodium: 300mg
- Total Carbohydrates: 60g
- Dietary Fiber: 7g
- Sugars: 2g
- Protein: 8g