Classic Vanilla Graduation Cake
Highlighted under: Home Cooking Recipes
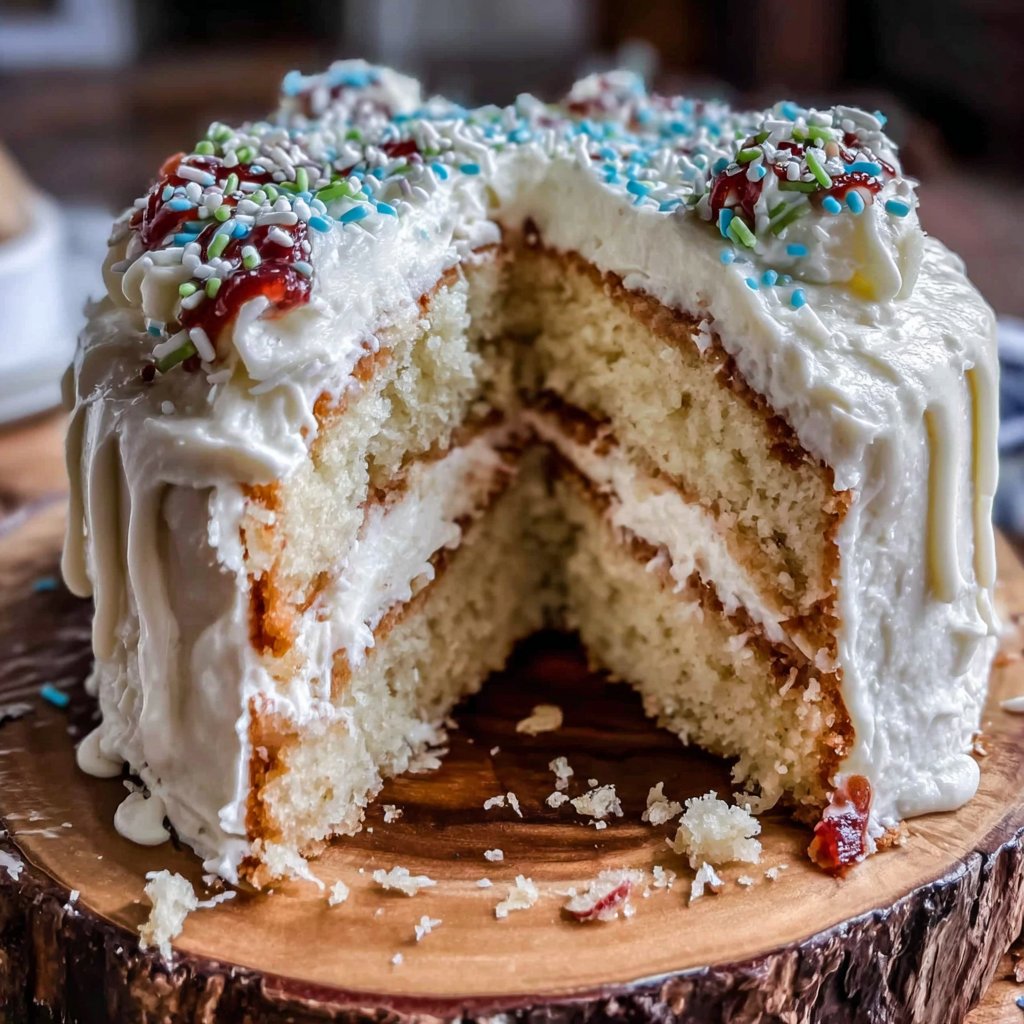
I absolutely love celebrating milestones with food, and nothing says celebration quite like a classic vanilla graduation cake. This cake is light, airy, and bursting with a rich vanilla flavor that makes it perfect for those special moments. I created this recipe to help mark not only academic achievements but also the sweet memories made along the way. The combination of moist layers topped with creamy frosting is an indulgence I simply cannot resist, and I'm excited to share how easy it is to recreate this for your own celebrations.
When I first baked this cake, I wanted it to be a reflection of the joy and pride that comes with graduation. I used high-quality vanilla extract to enhance the flavor, ensuring each bite is infused with that classic vanilla essence. The method I've honed for mixing the batter helps achieve the perfect rise, making the layers both tender and fluffy.
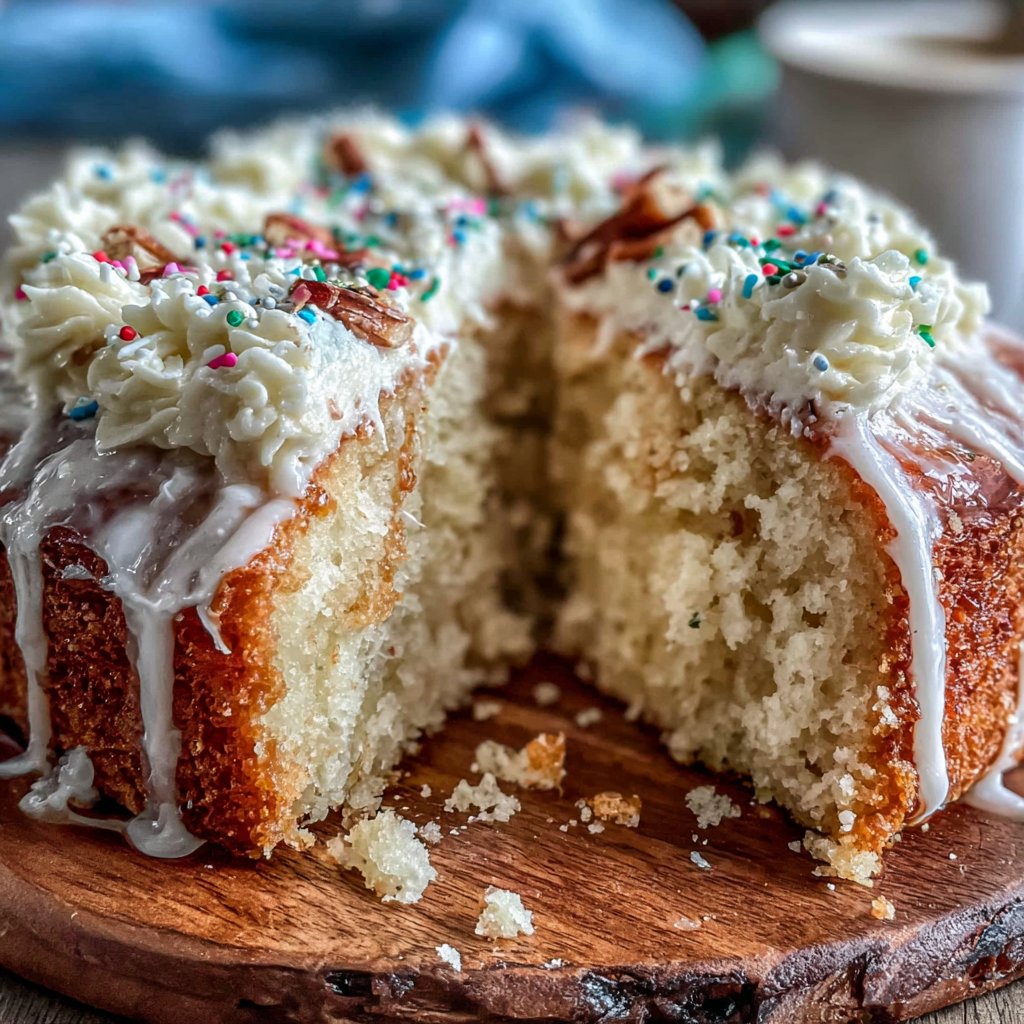
To elevate the presentation, I decided to add a simple yet elegant decoration using fresh fruits and a sprinkle of edible glitter. It not only looked stunning but also complemented the cake's flavor beautifully, making it a real showstopper at the gathering!
Why You'll Love This Cake
- Delicate vanilla notes that delight every palate
- Soft and fluffy texture that melts in your mouth
- A beautiful centerpiece for any graduation celebration
Understanding the Ingredients
The ingredients of this Classic Vanilla Graduation Cake play a pivotal role in achieving its distinctive flavor and texture. The combination of all-purpose flour and baking powder sets the structure of the cake, while the eggs bind everything together, ensuring a soft and airy crumb. Unsalted butter not only adds richness but also a moisture content that is crucial for an inviting mouthfeel. Always opt for high-quality vanilla extract; it enhances the cake with real depth compared to imitation extracts.
Whole milk contributes creaminess and richness to the cake batter, yielding a moist texture that's essential especially when achieving multi-layered cakes. If you're looking to make a dairy-free version, consider full-fat coconut milk as an alternative; it provides similar moisture without compromising flavor. Remember, each ingredient is vital—leave something out, and you might end up with a denser texture or a dull taste.
Baking Tips for Success
Baking times can vary depending on your oven calibration, so it's essential to start checking your cakes at the 25-minute mark. Look for golden edges and a slight bounce in the center when lightly touched. If a toothpick inserted comes out with moist crumbs, it's likely at that perfect bake point. If the cakes seem underbaked, return them to the oven in small increments of 2-3 minutes to avoid overbaking, which can lead to dryness.
Chilling the cakes after the initial bake is a critical step before frosting. It not only makes them easier to handle but also helps the frosting cling better, reducing the risk of crumbs mixing into your frosting. I like to wrap the cooled layers in plastic wrap and chill them in the refrigerator for about 30 minutes. This small detail can make all the difference in achieving a clean and beautiful frosting finish.
Ingredients
For the Cake
- 2 ½ cups all-purpose flour
- 2 ½ teaspoons baking powder
- ½ teaspoon salt
- 1 cup unsalted butter, softened
- 2 cups granulated sugar
- 1 tablespoon vanilla extract
- 4 large eggs
- 1 cup whole milk
For the Frosting
- 1 cup unsalted butter, softened
- 4 cups powdered sugar
- 2 teaspoons vanilla extract
- 2-3 tablespoons milk
For Decoration (optional)
- Fresh berries
- Edible glitter
- Graduation-themed decorations
Instructions
Steps
Prepare the Cake Layers
Preheat your oven to 350°F (175°C). Grease and flour two 9-inch round cake pans. In a bowl, sift together the flour, baking powder, and salt. In a separate large bowl, cream the butter and sugar together until light and fluffy. Add in the vanilla and beat in the eggs, one at a time, mixing well after each addition. Gradually add the dry ingredients to the wet mixture, alternating with the milk, until combined.
Bake the Cake
Pour the batter evenly into the prepared cake pans. Bake for 25-30 minutes, or until a toothpick inserted into the center comes out clean. Allow the cakes to cool in the pans for about 10 minutes, then transfer to wire racks to cool completely.
Prepare the Frosting
In a large bowl, beat the softened butter until fluffy. Gradually add the powdered sugar, then mix in the vanilla and milk until the frosting is smooth and spreadable. If too thick, add a little more milk.
Assemble the Cake
Once the cakes are fully cooled, place one layer on a serving plate and spread a layer of frosting on top. Place the second layer on top and apply a crumb coat over the entire cake. Chill for 15 minutes, then frost with the remaining frosting and decorate as desired.
Enjoy Your Cake!
Pro Tips
- For an even richer flavor, consider using vanilla beans instead of extract. Ensure your ingredients are at room temperature for the best texture. If desired, add layers of fruit preserves between the cake and frosting for added flavor.
Frosting Techniques
To achieve the light and fluffy consistency of the frosting, ensure your butter is at room temperature before starting. Beat the softened butter until it turns pale and fluffy—this usually takes about 3-5 minutes. Gradually adding powdered sugar prevents clumping and allows for better integration. Mixing in milk gradually also helps you aim for that perfect spreadable consistency, so don’t rush. If the frosting feels too stiff, a teaspoon of milk can make a significant difference.
Consider flavor variations to your frosting by infusing it with different extracts or adding a pinch of salt to balance the sweetness. For a fun twist, mix in colored sprinkles for a festive look. If you're planning to decorate with detailed designs, such as rosettes or intricate borders, a sturdier frosting achieved by reducing the milk can help maintain shapes better.
Serving and Storage
This cake is best served at room temperature, allowing the textures and flavors to shine. If you need to make it ahead of time, bake and frost the cake, then store it covered at room temperature for up to three days. To keep the cake fresh for an extended period, you can refrigerate it for up to a week or freeze it before frosting. Ensure it's wrapped tightly in plastic wrap to avoid freezer burn.
For a unique presentation, consider creating individual servings by cutting the cake into mini layers or cupcakes. This approach not only looks adorable but also allows guests to enjoy their cake in a portion-controlled manner. Topping each mini creation with fresh berries or a single edible flower can elevate your dessert table and make it even more enticing for your celebration.
Questions About Recipes
→ Can I make this cake in advance?
Yes, you can bake the cake layers a day ahead and store them tightly wrapped in plastic wrap at room temperature.
→ What can I substitute for whole milk?
You can use buttermilk or a non-dairy milk alternative, but the taste and texture may vary slightly.
→ Can I freeze the cake?
Absolutely! Wrap the cooled cake layers tightly in plastic wrap and foil before freezing. Thaw completely before frosting.
→ How can I make this cake chocolate-flavored?
Substitute 1 cup of flour with 1 cup of unsweetened cocoa powder for a delicious chocolate version.
Classic Vanilla Graduation Cake
Created by: The Chefgarrettkitchen Team
Recipe Type: Home Cooking Recipes
Skill Level: Intermediate
Final Quantity: 12 servings
What You'll Need
For the Cake
- 2 ½ cups all-purpose flour
- 2 ½ teaspoons baking powder
- ½ teaspoon salt
- 1 cup unsalted butter, softened
- 2 cups granulated sugar
- 1 tablespoon vanilla extract
- 4 large eggs
- 1 cup whole milk
For the Frosting
- 1 cup unsalted butter, softened
- 4 cups powdered sugar
- 2 teaspoons vanilla extract
- 2-3 tablespoons milk
For Decoration (optional)
- Fresh berries
- Edible glitter
- Graduation-themed decorations
How-To Steps
Preheat your oven to 350°F (175°C). Grease and flour two 9-inch round cake pans. In a bowl, sift together the flour, baking powder, and salt. In a separate large bowl, cream the butter and sugar together until light and fluffy. Add in the vanilla and beat in the eggs, one at a time, mixing well after each addition. Gradually add the dry ingredients to the wet mixture, alternating with the milk, until combined.
Pour the batter evenly into the prepared cake pans. Bake for 25-30 minutes, or until a toothpick inserted into the center comes out clean. Allow the cakes to cool in the pans for about 10 minutes, then transfer to wire racks to cool completely.
In a large bowl, beat the softened butter until fluffy. Gradually add the powdered sugar, then mix in the vanilla and milk until the frosting is smooth and spreadable. If too thick, add a little more milk.
Once the cakes are fully cooled, place one layer on a serving plate and spread a layer of frosting on top. Place the second layer on top and apply a crumb coat over the entire cake. Chill for 15 minutes, then frost with the remaining frosting and decorate as desired.
Extra Tips
- For an even richer flavor, consider using vanilla beans instead of extract. Ensure your ingredients are at room temperature for the best texture. If desired, add layers of fruit preserves between the cake and frosting for added flavor.
Nutritional Breakdown (Per Serving)
- Calories: 380 kcal
- Total Fat: 26g
- Saturated Fat: 15g
- Cholesterol: 195mg
- Sodium: 85mg
- Total Carbohydrates: 32g
- Dietary Fiber: 3g
- Sugars: 24g
- Protein: 6g